

Transforming your floors can breathe new life into your space, but before diving into that DIY dream, it’s crucial to be armed with the right tools. Fear not, Minnesota Residential Remodeling floor experts! This comprehensive guide delves into the essential tools you’ll need to tackle any flooring project, from the common to the unique.
Essential Gear for Every Flooring Foe:
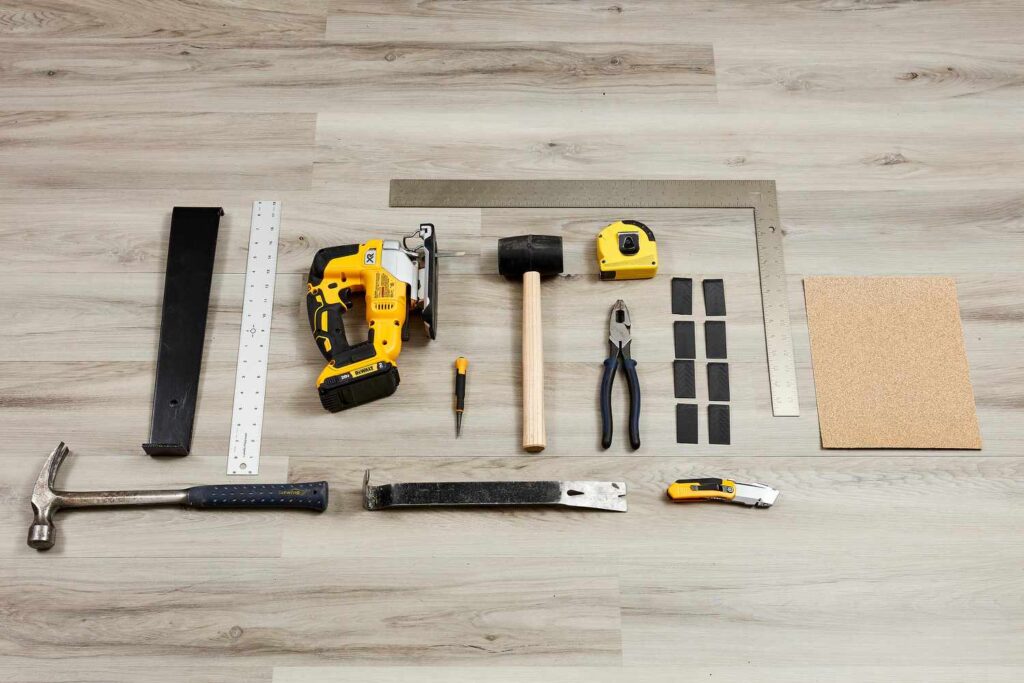
- Measuring Tape: Your trusty guide for accurate cuts and precise planning.
- Utility Knife: A multipurpose marvel for scoring, cutting, and shaping various materials.
- Pencil and Chalk Line: Mark your cuts with confidence for clean, straight lines.
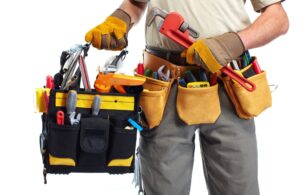
- Safety Gear: Ear protection, goggles, and gloves keep you safe from dust, noise, and accidental cuts.
Related Article: How to Make Your Vinyl Floors Look New Again
Cutting and Shaping:
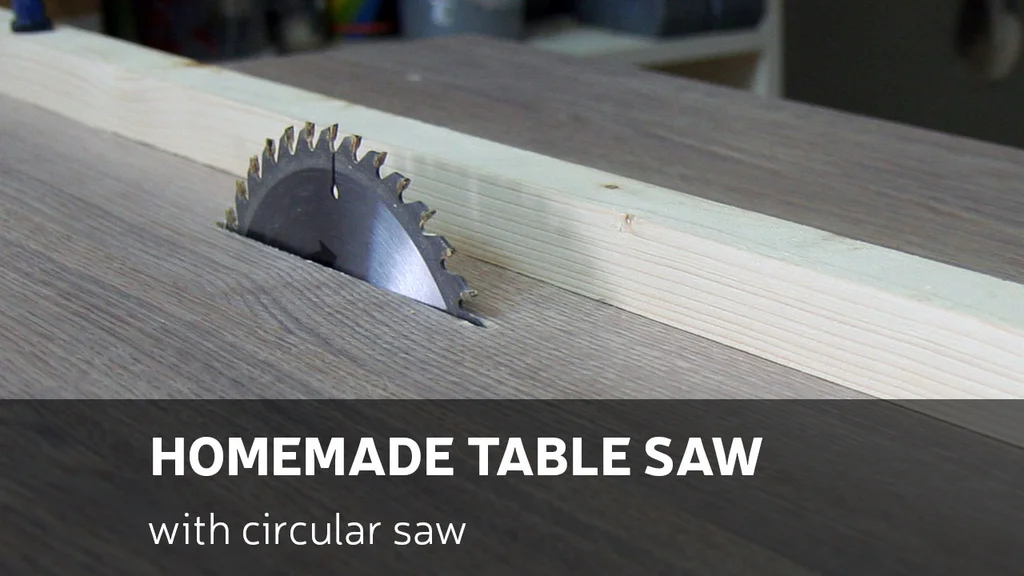
- Circular Saw or Table Saw: For precise cuts in wood flooring, choose a saw suited to your material and comfort level.
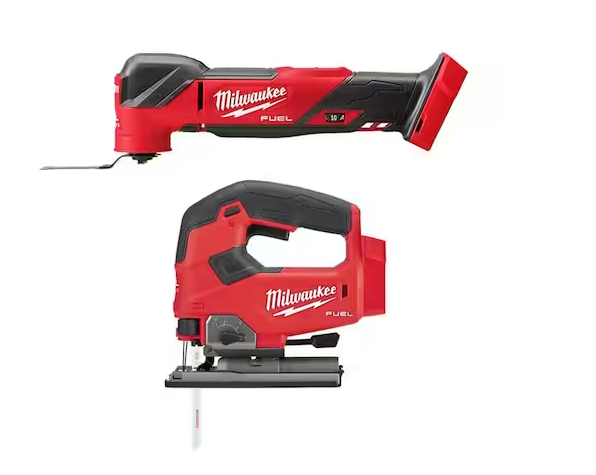
- Jigsaw or Oscillating Multi-Tool: Conquer intricate cuts and tight spaces around obstacles with these versatile tools.
Installation Warriors:
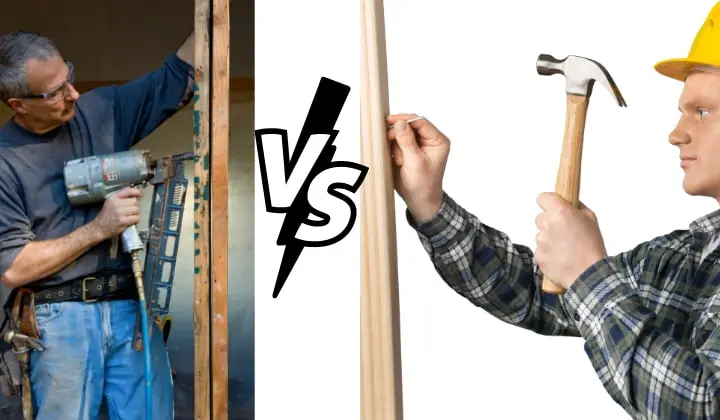
- Nail Gun or Hammer and Nails: Secure hardwood planks with a pneumatic nail gun for speed and ease, or opt for the classic hammer and nail combo for smaller projects.
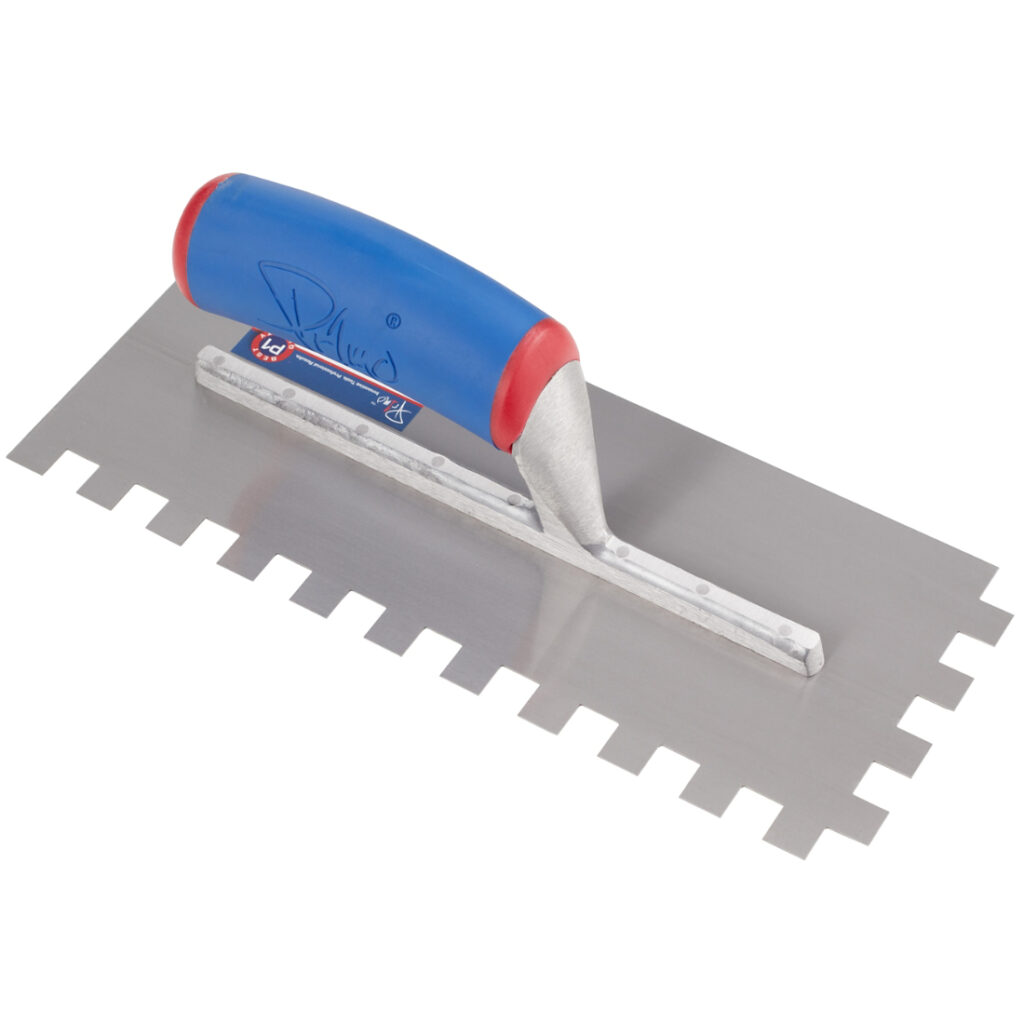
- Trowel and Spacers: For tile installations, a notched trowel ensures even adhesive application, while spacers maintain consistent grout lines.
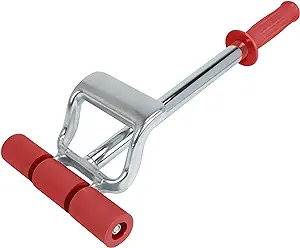
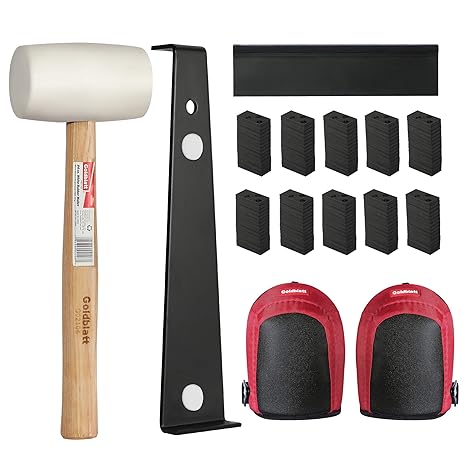
- Flooring Roller: This heavy-duty tool compresses flooring materials firmly against the subfloor, particularly crucial for vinyl and linoleum.
- Knee Pads: Your knees will thank you for this comfort cushion during extended installation sessions.
Bonus Tools for Specialized Missions:
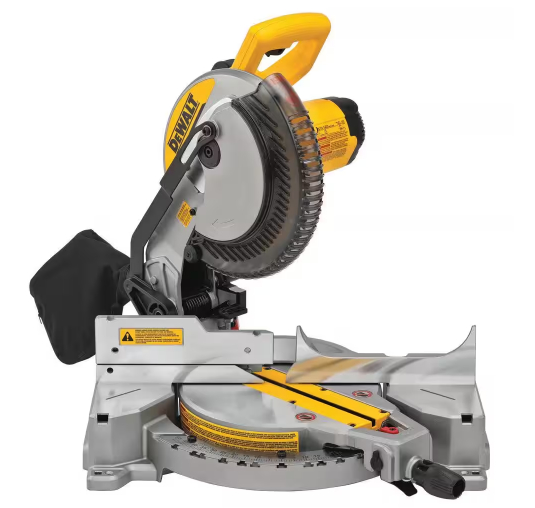
- Miter Saw: For angled cuts around door frames and corners, a miter saw delivers precise miter joints.
- Pull Bar and Tapping Block: These tools help you close gaps and tighten joints, especially useful for click-lock flooring systems.
- Level: Ensure a perfectly balanced floor with a reliable level.
Real People, Real Projects, Real Tools:
- Sarah, a DIY enthusiast, shares her experience: “Installing laminate flooring myself was daunting, but the right tools made it a breeze! Having a good circular saw and a tapping block saved me so much time and frustration.”
- David, a seasoned contractor, emphasizes: “Safety first! Always wear ear protection and goggles when cutting flooring materials. And don’t underestimate the power of a good knee pad – your back will thank you later.”
Remember:
- Match the tools to your flooring type: Different materials require specific tools for optimal results.
- Quality matters: Invest in good-quality tools for a smooth installation and long-lasting performance.
- Rent or borrow: If you’re unsure about a tool’s long-term use, consider renting or borrowing before committing to a purchase.
With the right tools and a can-do spirit, you’re well on your way to conquering that flooring project and transforming your space into a masterpiece. So, grab your toolkit, unleash your inner DIY hero, and get ready to create a floor that’s as unique and beautiful as you are!
Also Read: How many times can wood flooring be sanded and refinished?
Sources:
- Mr. Handyman: https://mrlahandyman.com/product/luxury-vinyl-flooring-installation/
- LL Flooring: https://www.llflooring.com/c/accessories-tools-and-installation/
- Ambient Bamboo Floors: https://www.ambientbp.com/pdf/BSPC_Installation_Instructions.pdf
- AthA Rental: https://www.atharental.com/flooring-equipment
Additional Tips:
- Watch online tutorials for specific flooring installation techniques.
- Enlist the help of a friend or family member for larger projects.
- Don’t be afraid to ask for advice at your local hardware store.
Remember, a well-prepared DIYer is a successful DIYer. With the right tools and knowledge, you can tackle any flooring project and create a space you’ll love for years to come.
-

5 Questions to Consider Before Installing Rooftop Solar
As energy costs rise and environmental concerns grow, many homeowners are considering rooftop solar panels as a sustainable and cost-effective
-
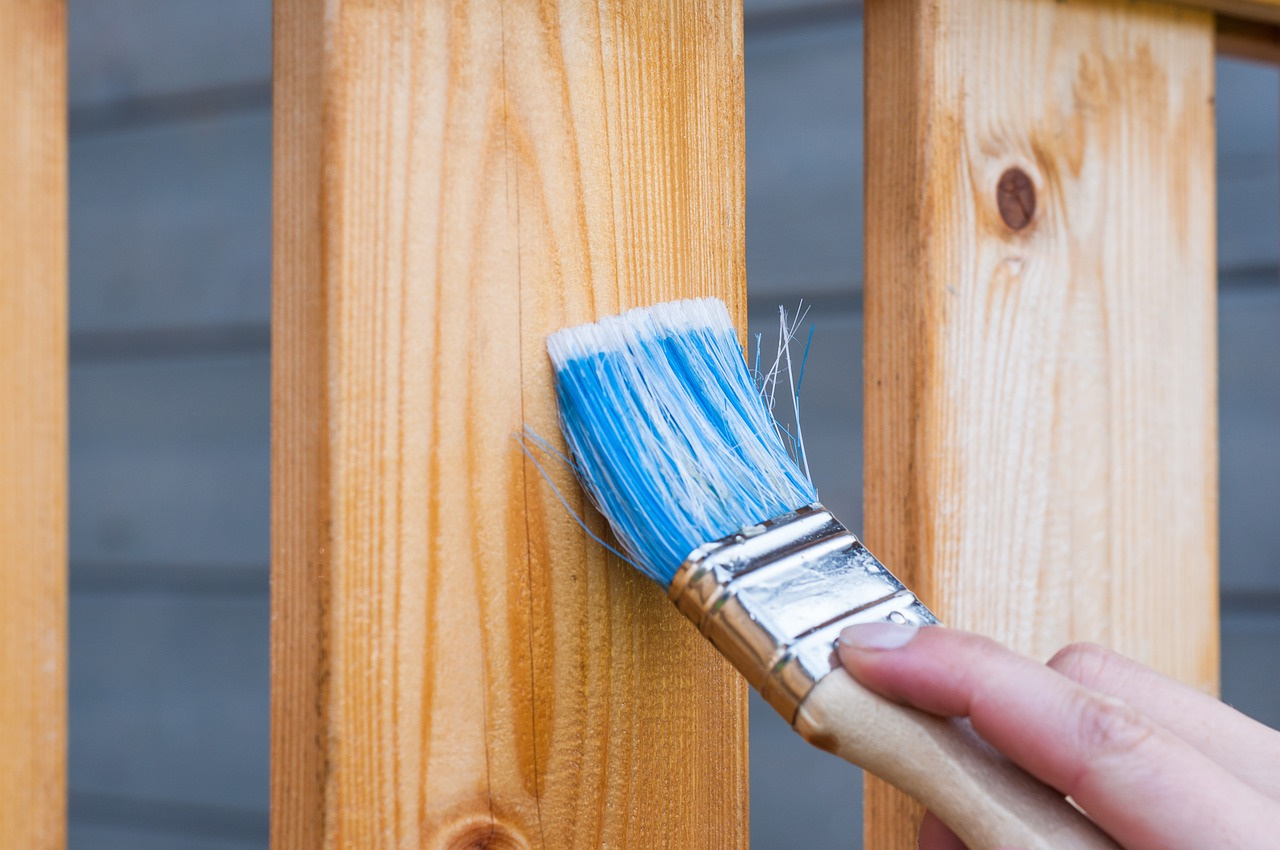
How Much Does A Handyman Charge To Paint A Room In Minnesota?
Giving your Minnesota home a fresh coat of paint can breathe new life into a space. But if you’re not
-
How Much Does a Handyman Charge Per Hour in Minnesota (Updated for 2024)
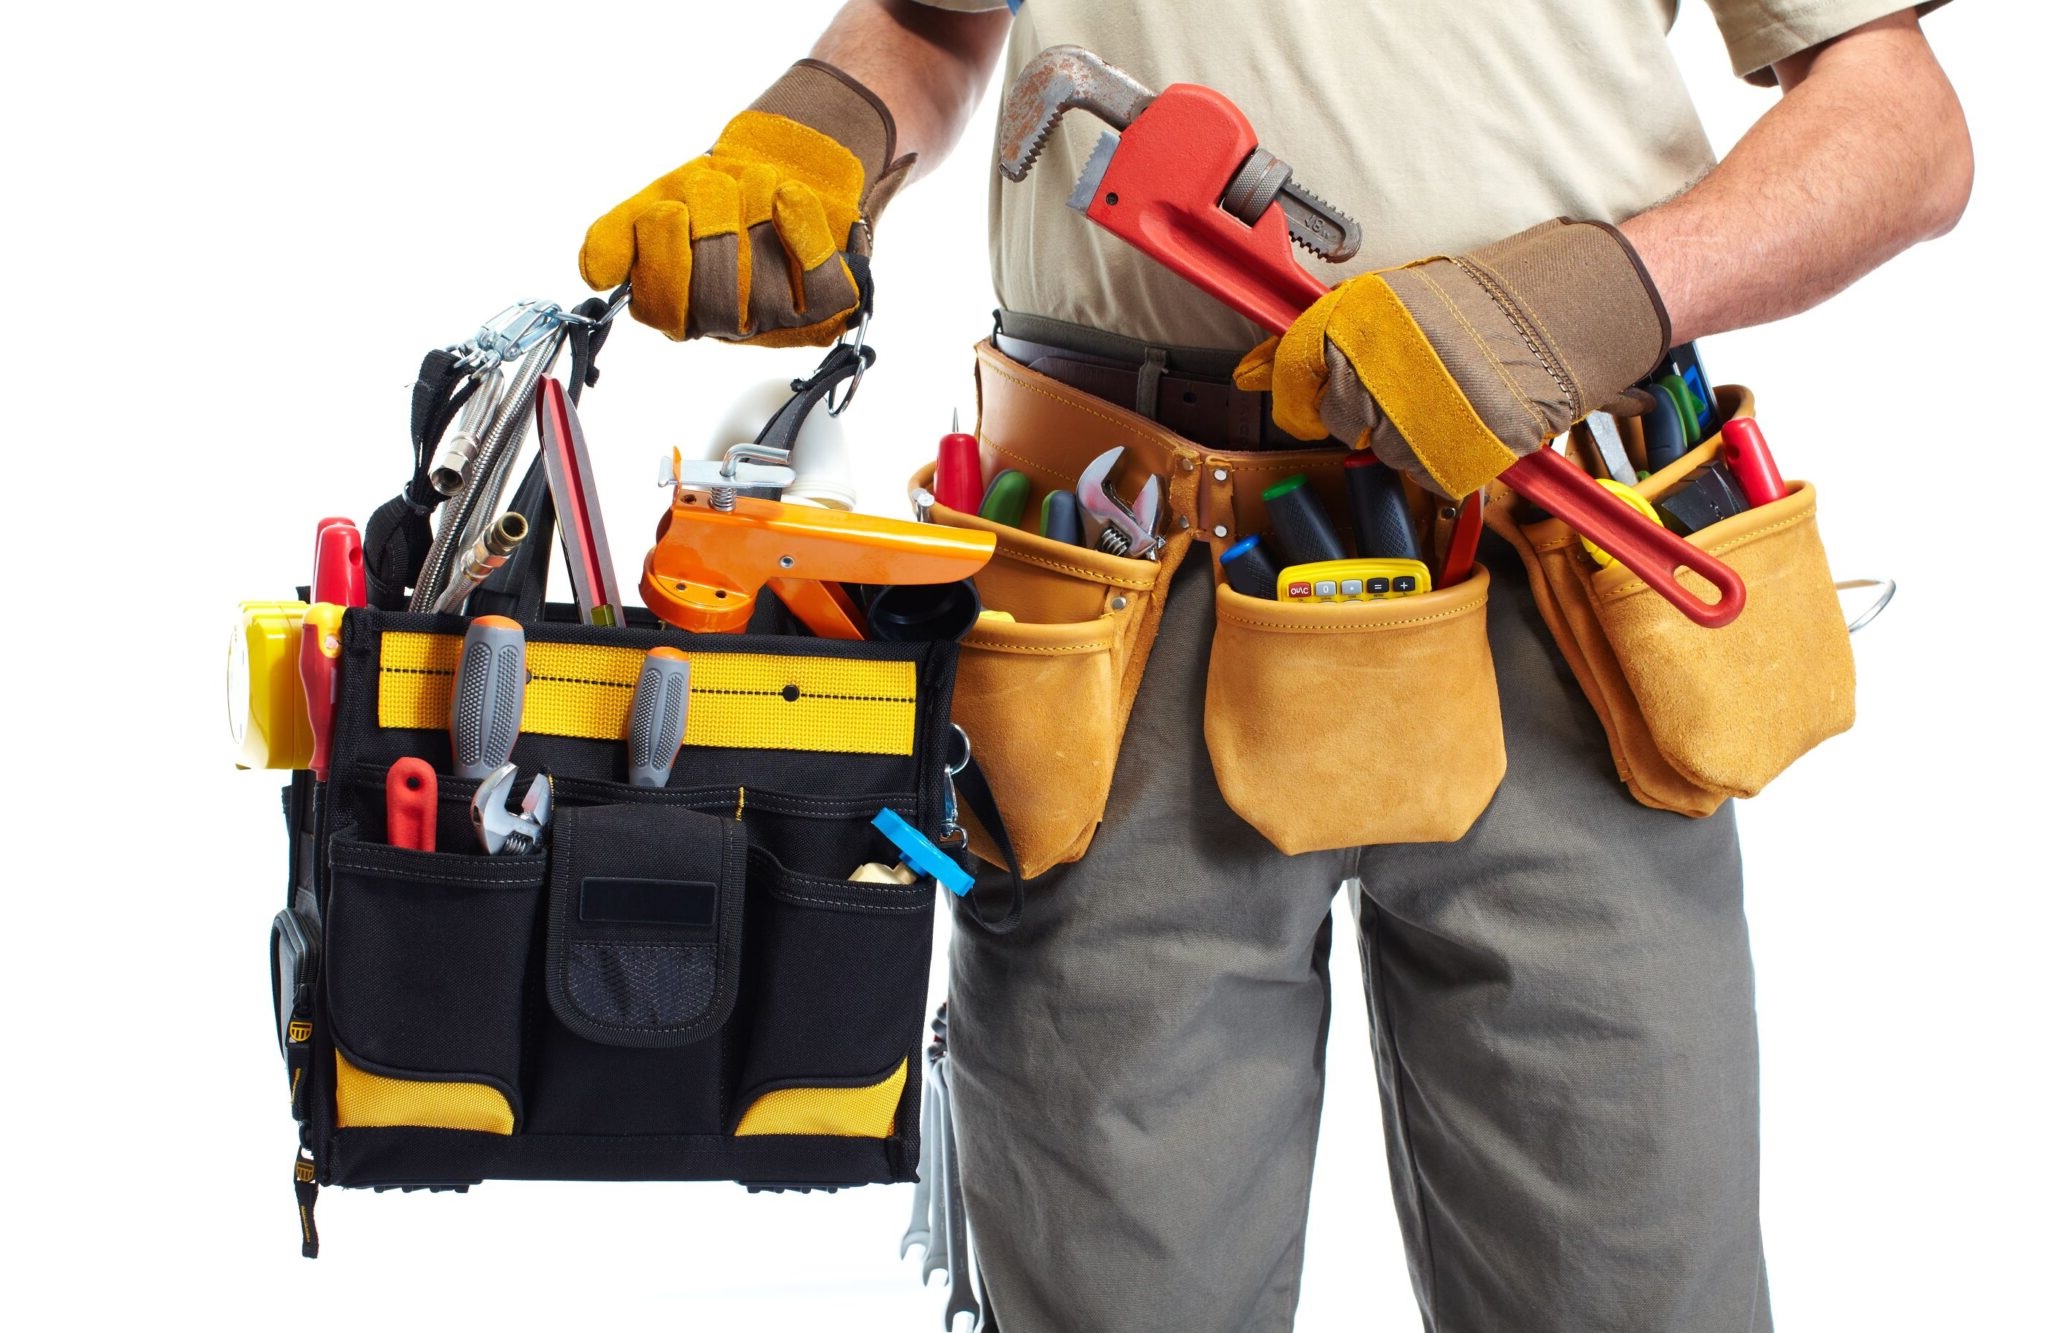
Keeping your Minnesota home in tip-top shape often requires a toolbox full of skills and sometimes, more hands than you
-
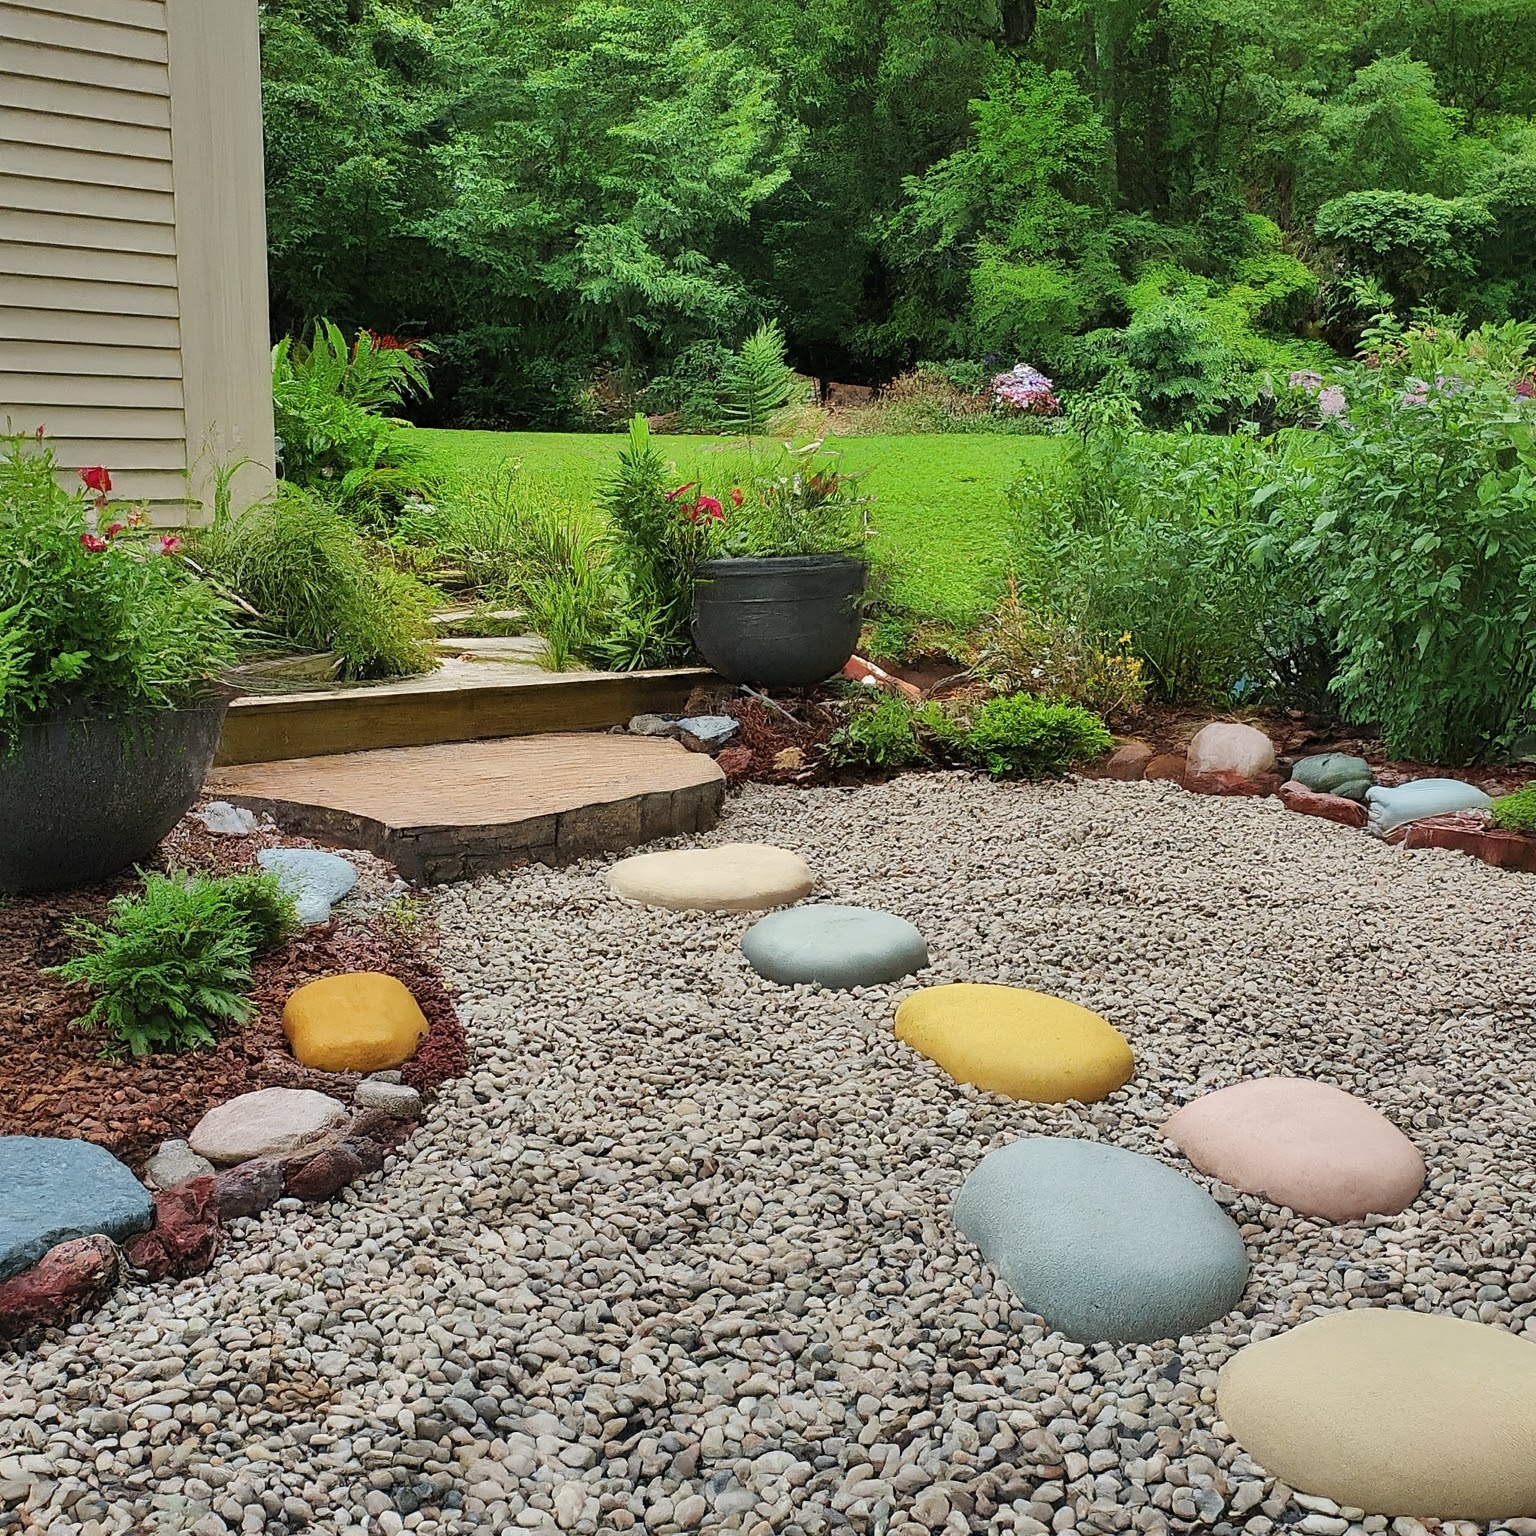
Make a Pea Gravel Patio Yourself -What Tools You May Need?
Pea gravel patios offer a charming and budget-friendly way to create an inviting outdoor space. They are perfect for patios,
-

Pea Gravel Patios: A Budget-Friendly But Practical Choice?
Pea gravel patios have become a popular choice for homeowners looking for an attractive and affordable outdoor space. Made from
-

The Curious Case of the Skibidi Toilet Song: A Viral Enigma
The internet is a breeding ground for bizarre trends, and the “Skibidi Toilet Song” is a prime example. While its