
In a world increasingly focused on urban living, balconies, patios, and decks have become prized extensions of our homes. One popular way to elevate these outdoor spaces is by incorporating greenery. Plants not only add a touch of nature but also improve air quality and provide a sense of tranquility. However, displaying them in an aesthetically pleasing way can be a challenge. This is where DIY home outdoor plant stands come in.
Trend of DIY Outdoor Plant Stands
The DIY movement has seen a surge in recent years, fueled by a desire for personalization, budget-consciousness, and a sense of accomplishment. A 2022 Houzz [1] survey revealed that 55% of homeowners planned to undertake DIY projects in the coming year. Outdoor plant stands are a perfect example of a project that caters to this trend. They allow individuals to create unique and functional pieces that complement their existing décor while saving money compared to store-bought options.
Exploring Different Materials and Designs
The beauty of DIY projects lies in their versatility. When it comes to outdoor plant stands, the possibilities are endless. Here’s a glimpse into some popular materials and designs:
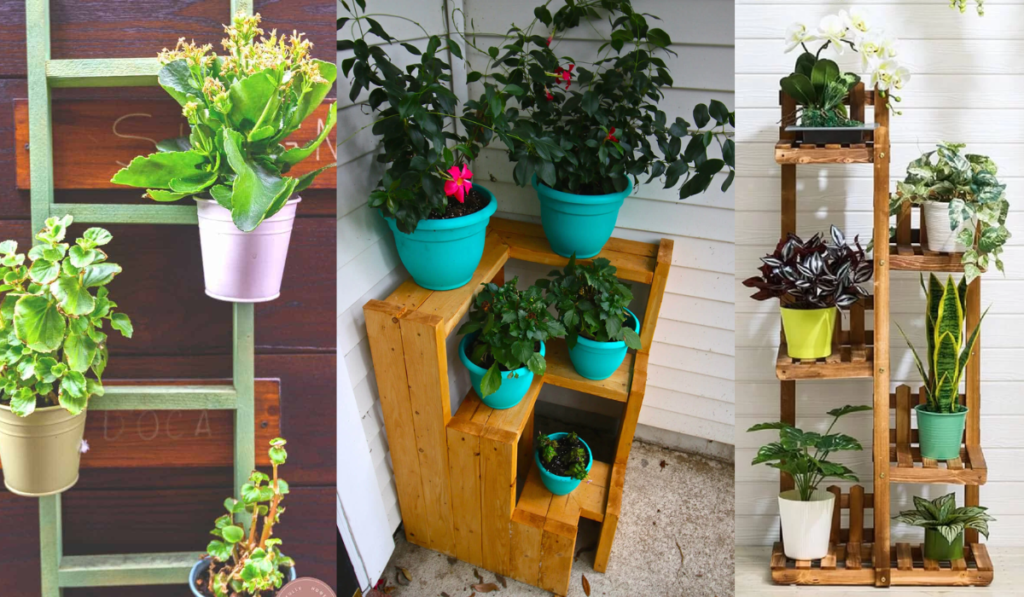
- Wood: A classic choice, wood offers warmth and a natural aesthetic. Pressure-treated lumber is ideal for outdoor use as it resists rot and insect damage. Simple designs like plant ladders or tiered shelves can be constructed with minimal woodworking experience.
- Metal: Metal stands offer a sleek and modern look. Copper pipes can be bent and soldered to create geometric shapes, while repurposed metal buckets or crates can be transformed into charming plant holders. However, working with metal requires specific tools and skills.
- Pallets: Readily available and budget-friendly, pallets can be transformed into multi-tiered plant stands with a little creativity. Disassembling, sanding, and staining pallets can elevate their look, while adding casters allows for easy mobility.
- Upcycled Materials: The internet abounds with inspiration for upcycled plant stands. Old chairs with removed seats, vintage ladders, or even discarded tires can be given a new lease on life as unique plant displays.
Steps to Building Your Own Outdoor Plant Stand
Ready to unleash your inner DIYer and create a haven for your outdoor plants? Here’s a breakdown of the steps to get you started:
1. Planning and Inspiration:
- Define your needs: Consider the size and weight of your plants, the amount of sunlight in your chosen location, and how many plants you want to display.
- Explore designs: Browse online resources like Pinterest, Instagram, and DIY blogs for inspiration. Popular options include plant ladders, tiered shelves, and upcycled furniture.
- Choose your materials: Wood, metal, pallets, and upcycled finds are all possibilities. Consider factors like weather resistance, your skill level, and desired aesthetic.
2. Gather Your Supplies:
- Materials: Base your list on your chosen design. For a simple wooden stand, you might need pressure-treated lumber, screws, sandpaper, paint or stain (optional), and a drill.
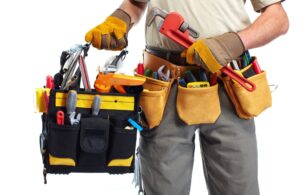
- Tools: The tools required will vary depending on your materials and design complexity. Common tools include a saw, drill, screwdriver, measuring tape, level, and sandpaper.
3. Prepare Your Workspace:
- Find a clean, well-ventilated area with enough space to work comfortably.
- Ensure good lighting for safety and precision when cutting and assembling.
4. Cutting and Assembly:
- Follow a plan: If you’re referencing a specific design online, ensure you have clear measurements and instructions.
- Cut carefully: Double-check measurements before cutting your materials. A good quality saw with a sharp blade is essential for clean cuts.
- Pre-drill holes: This prevents wood from splitting when screwing components together.
- Assemble and secure: Use appropriate fasteners like screws or nails to securely join the pieces. Double-check for stability before adding weight.
5. Finishing Touches:
- Sand down rough edges: This ensures a smooth finish and prevents snags.
- Personalize (optional): Paint, stain, or add decorative elements to match your style.
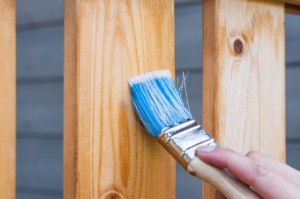
- Seal it up (outdoor stands): Apply a coat of exterior sealant or waterproof stain for weather protection.
- Drainage (important): Ensure proper drainage for your plants. Consider adding drainage holes in shelves or using elevated plant saucers.
Bonus Tips:
- Start simple: As a beginner, opt for a straightforward design like a plant ladder or single-tier shelf.
- Safety first: Wear safety glasses and gloves when using power tools.
- Don’t be afraid to improvise: DIY allows for creativity! Adapt designs to suit your available materials or space.
- Seek help if needed: If you’re unsure about a step, consult online tutorials or seek guidance from experienced DIYers at hardware stores.
Real People, Real Projects
The success of DIY projects often hinges on finding inspiration and guidance. Social media platforms like Pinterest and Instagram are treasure troves for DIY outdoor plant stand ideas. A quick search using hashtags like #DIYplantstand or #outdoorplantdecor reveals a vibrant online community sharing their creations and experiences.
One such example is Sarah Jones, a home decor enthusiast who documented her transformation of an old ladder into a plant stand on her blog [2]. She details the process, including materials, tools, and step-by-step instructions, making it easy for others to replicate her project.
Things to Consider Before You Build
While DIY projects offer immense satisfaction, it’s crucial to plan effectively before diving in. Here are some key factors to consider:
- Plant Weight and Size: Ensure the stand can accommodate the weight of your chosen plants, especially when wet. Factor in the size of the pots to determine the appropriate shelf spacing.
- Sun Exposure: Consider the amount of sunlight your desired location receives. Plants with varying light requirements might necessitate a multi-tiered stand for optimal placement.
- Weather Conditions: Opt for weather-resistant materials like pressure-treated wood, galvanized metal, or sealed concrete.
- Drainage: Ensure proper drainage for your plants by incorporating drainage holes in shelves or using elevated plant saucers.
- Skill Level: Be honest about your DIY experience. Start with simpler designs if you’re a beginner and gradually progress to more complex projects.
Personalization and Finishing
Once your plant stand is constructed, it’s time to personalize it! Paint it in a bold color, add decorative elements like hooks or wind chimes, or use stencils for a patterned finish.
For extra protection against the elements, consider applying a coat of exterior sealant or waterproof stain. This not only enhances the aesthetics but also prolongs the lifespan of your creation.
Final Words
Building your DIY outdoor plant stand is a journey, not just a destination. Embrace the learning process, don’t be afraid to experiment, and most importantly, have fun! With a little planning and creativity, you can create a functional and beautiful addition to your outdoor space, fostering a connection with nature and showcasing your unique style.