

Contact paper countertops have surged in popularity in recent years, offering a budget-friendly and relatively easy way to transform the look of your kitchen. But before diving into this DIY project, understanding the installation process and potential pitfalls is crucial. This article delves into the methodology of installing contact paper countertops, incorporating research and real user experiences.
Preparation is Key
A successful contact paper countertop makeover hinges on thorough preparation. Here’s what you’ll need to do:
- Gather your supplies: Acquire contact paper, a sharp utility knife or scissors, a measuring tape, a squeegee (or credit card), a spray bottle filled with soapy water solution, and a cleaning rag. Opt for a contact paper designed for countertops, as it’s typically thicker and more durable than regular varieties.
- Cleanliness is paramount: Meticulously clean your countertops with a degreaser or rubbing alcohol to remove any dirt, grease, or residue. A perfectly clean surface ensures optimal adhesion of the contact paper.
- Measure meticulously: Measure your countertops accurately, accounting for the backsplash and overhang if applicable. It’s recommended to add a few extra inches for trimming purposes.
The Installation Process: A Step-by-Step Guide
- Plan your layout: Decide on the placement of seams and how the pattern will flow across your countertops. This is especially important for patterned contact paper.
- Cut the contact paper: Following your measurements, meticulously cut the contact paper using a sharp utility knife or scissors on a flat surface.
- Peel and place: Begin by peeling a small section (around 6 inches) of the backing paper from the contact paper. Align this exposed section with the edge of your countertop, ensuring it’s straight.
- Smoothing it out: Use the squeegee (or credit card) to gently smooth out the contact paper onto the countertop, working from the center outwards. This motion pushes out any air bubbles or wrinkles that might form.
- Peel and apply gradually: As you smooth, progressively peel away the backing paper a little at a time, maintaining control over the placement of the contact paper.
- Trimming the edges: Once the entire surface is covered, use a sharp knife to meticulously trim any excess contact paper around the edges, including the backsplash and overhang (if applicable).
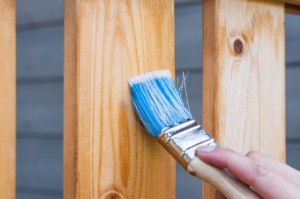
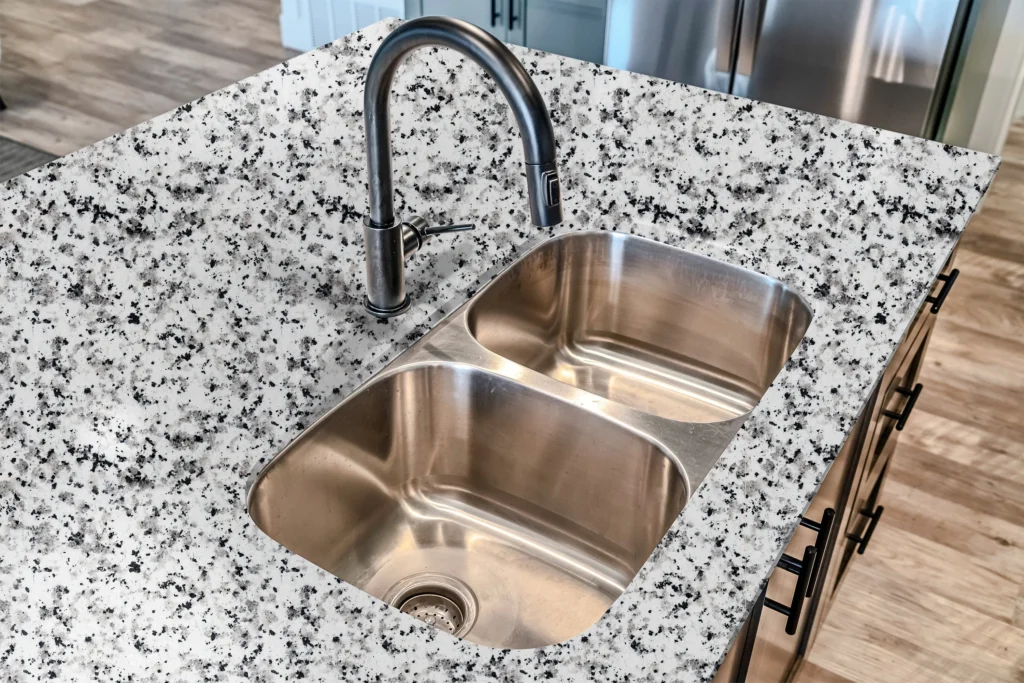
- Addressing corners and fixtures: For a more polished look, use a hairdryer set on low heat to gently mold the contact paper around corners and carefully cut around fixtures like sinks. Remember to turn off the water supply before working near the sink.
Real User Experiences and Insights
While contact paper countertops offer a cost-effective solution, it’s essential to be aware of their limitations and user experiences:
- Durability: Contact paper isn’t invincible. Users report concerns about its longevity, especially in high-traffic areas exposed to heat, moisture, or sharp objects.
- Seams and visibility: Seams in large applications can be noticeable. Consider strategic placement or opting for wider rolls of contact paper to minimize seams.
- Heat resistance: Avoid placing hot pots or pans directly on the contact paper, as it can melt or warp.
- Repositioning: While repositioning is somewhat possible during application, it becomes increasingly difficult once the adhesive sets. Patience and a light touch are key.
The Latest Buzz: Durability Concerns and Alternatives
A recent discussion on a popular home improvement forum [6] highlighted user concerns about the long-term durability of contact paper countertops. Some users reported peeling issues, especially near stovetops and sinks. This reinforces the importance of proper cleaning, using appropriate contact paper for countertops, and managing expectations regarding longevity.
Alternatives to Consider
For those seeking a more permanent solution, options like peel-and-stick tiles, countertop paint, or epoxy countertop resurfacing kits might be worth exploring [7, 8]. However, these options typically require more investment and might involve a steeper learning curve for installation.
Final Words
Contact paper countertops offer a budget-friendly way to refresh your kitchen. By meticulously preparing the surface, following the installation process carefully, and managing expectations regarding durability, you can achieve a stylish and functional update. Remember, this is a DIY project best suited for those comfortable with meticulous tasks and realistic about the product’s limitations.