With the help of our window installation instruction, you may improve the look or feel of your house while also making energy savings.
DIY
Project Overview
- Total Time: 12 hours
- Working Time: 6 hours
- Skill Level: Intermediate
- Estimated Cost: $85 to $2,100
There are several reasons you would want to learn how to install a window, including wanting to improve the energy efficiency of your house or just updating the appearance and feel of your windows. Similar to many other home improvement tasks, replacing windows is a do-it-yourself effort that doesn’t always need a contractor to be done correctly. Find out if replacing a window is a job you could take on by learning about the procedure below.
Before Starting
Replacement windows come in many varieties, and installing them will need different steps depending on the one you select. Windows for new construction and windows for remodelling are the two categories of windows.

What Is a Window for New Construction?
New-construction windows are designed to be used in new building, as the name implies. They have a flange that may be used to secure the window to a rough opening that’s been constructed but hasn’t had siding, trim, or drywall installed yet.
Also Read: Should You Remove Window Screens in Winter? Examining the Reasons and Efforts
A Remodel Window: What Is It?
The purpose of remodel windows is to fit into the space vacated by a window that was previously placed. Because the frame is made to fit inside the final aperture, this design results in a reduced glass area but allows replacing old windows considerably quicker and easier than installing new windows.
How to Select an Appropriate Replacement Window
When deciding between remodel and new-construction windows for your replacement window project, we advise going with the remodel option. The process of installing new-construction windows will probably need you to remove a lot more stuff, which will make it take a lot longer. Even if you could get a little bigger window, the extra time isn’t worth it. It could be wiser to install new windows and reframe the entire window opening if the frame of your current window is in bad condition.
What You’ll Need
- 3″ Wood screw
- Caulk gun
- Drill
- Drill bits
- Equipment / Tools
- Expanding foam for windows and doors
- Finish nails
- Flashing tape
- Flat bar
- Interior paint
- Level
- Loose fiberglass insulation
- Materials
- Measuring tape
- Oscillating multitool (optional)
- Painter’s caulk
- Painting supplies
- Pencil
- Replacement window
- Shims
- Stop moulding
- Utility knife
- Window caulk
Instructions and Procedure

How to Do Your Own Window Installation
To replace outdated, inefficient windows with energy-efficient replacements, follow the instructions below. Windows can be removed in a variety of ways, so be sure the instructions below work for your particular window. When in doubt, consult the installation instructions provided by the manufacturer for your particular replacement window.
1. Measure the Opening First
Take measurements of the height of your window frame at several points, such as the centre and the edges, and note the results. To determine the breadth, repeat these steps. Ensure that the measurement includes the whole height of the frame, including the stop moulding that encircles the window.
2. Buy an Adequate Window
To make sure you can quickly seal the opening, buy the replacement windows before ripping out the old ones. When selecting a replacement window, choose the smallest recorded measurement for both the width and height. Select a new window that is 1/2 to 3/4 inch smaller than the opening’s measurements to make sure it will fit in your current opening.
3. Eliminate the Current Window
To make trimming removal easier, use a utility knife to break the seal of the paint and caulk when removing your old window.
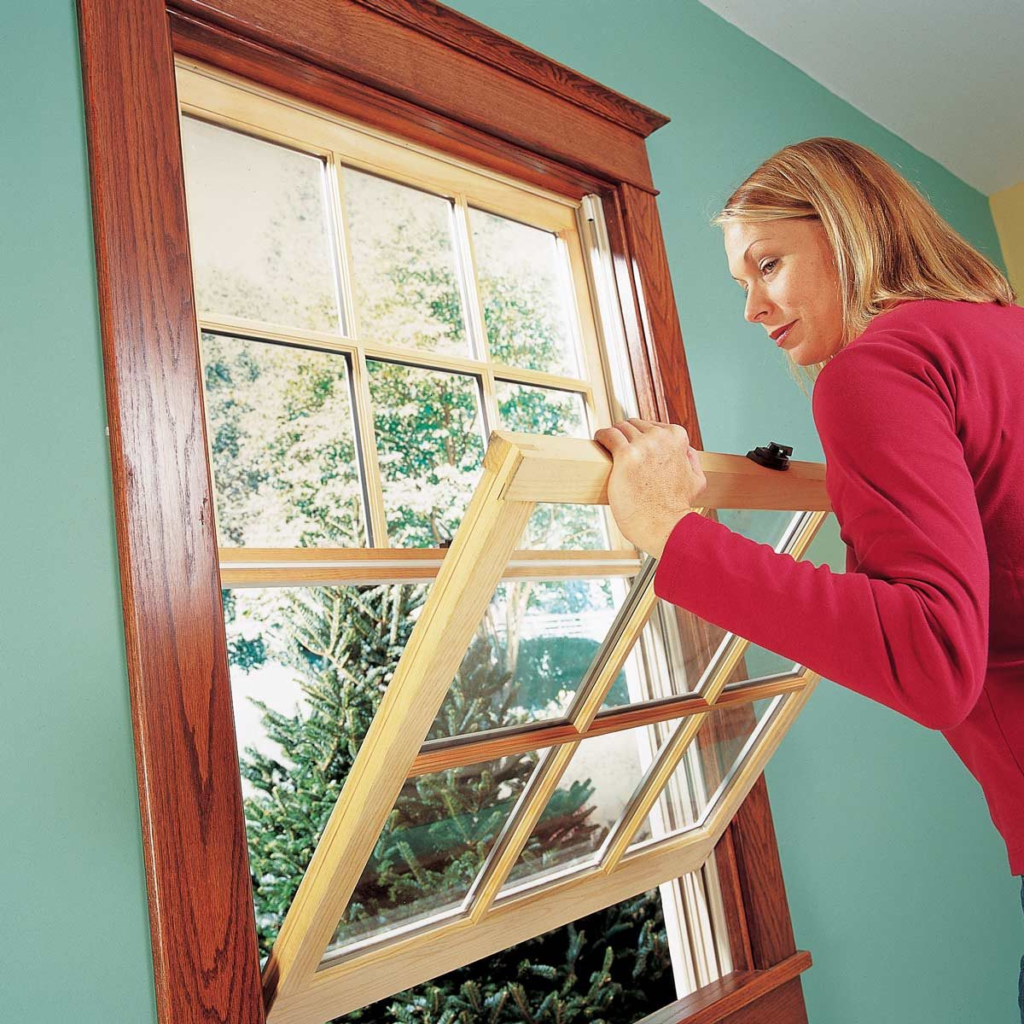
- To ensure the window doesn’t fall out of the opening, hold it while you remove the inner stop moulding. You should be able to repurpose it if you handle it cautiously.
- Take off the window coverings.
- Take off the bolts that are securing the frame to the aperture.
- Take out the frame from the gap.
- Take out any shims and fasteners that are still in the opening.
Metal channels, weights, and balancing lines are some of the extra gear that older windows may have to hold the sashes in place and regulate their movement. After carefully removing them, use loose fibre insulation to fill up any gaps that remain.
4. Get the window frame ready.
Clean the aperture and replace any missing or broken insulation in order to make it ready for the new window frame. Patch up any holes in the surface and swap out any broken components.
Make sure there are no damages to the outside stop moulding, commonly known as the blind stop. If needed, replace.
Make sure the flashing tape extends up the inside of the bottom external stop moulding and apply it all the way along the sill.
5. Install the Window Dry
Using shims, centre the new window once it has been placed inside the opening. To make sure the window sits plumb and level, adjust the shims. After the window is precisely in place, number the shims and indicate the locations of the shims by writing the relevant numbers in each frame point.
After installation, the window won’t open and close correctly if it isn’t installed level and plumb.

6. Install Window: Apply Caulk and Position
To install the new window, according to the instructions below. Take out the window, then caulk the outside of it with a bead of external caulk along the blind stop. To achieve a seal, firmly press the window up against the caulk.
Interesting Article: How Can You Make Your Own Window Frame in 17 steps?
7. Fit the Window: Change the Shims
After replacing the shims, make sure the window is centred in the opening and level and plumb. Shims can be adjusted if needed. Install shims at each pre-drilled hole to take into account any gaps that may exist before driving screws through the window frame’s pre-drilled holes and into the framed aperture. Use a utility knife or oscillating multitool to trim off the extra shims.
8. Fit the Window: Look for the Plumb
Once again, check the window for plumb and level, and make any required adjustments.
9. Fit the Window: Provide Insulation
For windows and doors, use spray foam or fibreglass insulation to fill the spaces between the framed aperture and the window frame. The excess may be removed with a utility knife.
Finish nails are used to reinstall the inside stop moulding.
10. Paint and install the window trim.
Apply caulk to the window and moulding, and then let it cure in accordance with the manufacturer’s recommendations. Paint the moulding when it has dried.
Source:
https://www.bhg.com/how-to-install-a-window-7505356
-
Challenges to Face While Installing Soffits and Gutters
Installing soffits and gutters is a critical component of maintaining the structural integrity and aesthetic appeal of a home. However,
-
What Tasks A Handyman Can Easily Manage in Minnesota?
Handymen play a crucial role in maintaining and improving homes across Minnesota. From minor repairs to significant renovations, these skilled
-
Roof Replacement in Minnesota Considering Weather Conditions: Materials, Layouts, and Techniques
Roof replacement is a significant home improvement project that demands careful consideration, especially in a state like Minnesota where the
-
Futuristic Residential Remodeling – What to Expect: The Advancements at Home?
In recent years, the realm of residential remodeling has undergone a significant transformation. With advancements in technology, innovative materials, and
-
How to Increase the Water Pressure in Kitchen Faucets?
A common household issue many homeowners face is low water pressure in their kitchen faucets. This problem can disrupt daily


